 Debian
-France
Debian-Facile
Debian-fr.org
Forum-Debian.fr
Debian ?
Communautés
Debian
Debian-France
Debian-Facile
Debian-fr.org
Forum-Debian.fr
Debian ?
Communautés

Vous n'êtes pas identifié(e).
L'icône rouge permet de télécharger chaque page du wiki visitée au format
PDF et la grise au format ODT →

![]()
Ceci est une ancienne révision du document !
sudo lsblk --fs
sudo dd if=image.iso of=/dev/sdx bs=4M && sync
Problème
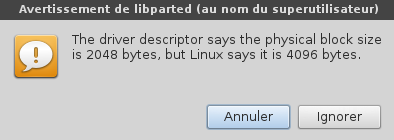
sudo umount /dev/sdx
sudo dd if=/dev/zero of=/dev/sdx bs=2048 count=32
https://debian-facile.org/doc:systeme:apt:sources.list:depots-tiers
Installer ou Migrer vers Debian sid
sudo su
echo "slyfox    ALL=(ALL:ALL) ALL" >> /etc/sudoers
apt update
apt install hardinfo ffmpeg mpv audacious audacity dvdbackup geany geany-plugin* vobcopy kdenlive yad youtube-dl zenity mplayer picard quodlibet gparted handbrake kid3-cli lsdvd mencoder hardinfo alsa-tools bash-completion gnome-tweaks cmake ninja-build bison cmake curl freeglut3-dev git libgcrypt20-dev libgtk-3-dev libpulse-dev libsecret-1-dev libsystemd-dev nasm ninja-build drawing
apt upgrade
cd /tmp
git clone https://github.com/geany/geany-themes.git
cp -r /tmp/geany-themes/colorschemes ~/.config/geany/
Paramètres –> Utilisateurs –> Déverrouiller –> Connexion automatique
Création fichiers muets:
sudo ffmpeg -f lavfi -i anullsrc -t 1 /opt/silence_01.mp3
sudo ffmpeg -f lavfi -i anullsrc -t 86400 /opt/silence_86400.mp3
Cliquer sur le lien ci-dessous pour télécharger ce fichier et le placer sur le bureau
gnome-terminal -- bash -c "ffplay -nodisp -autoexit /opt/silence_01.mp3
sudo /usr/bin/hda-verb /dev/snd/hwC0D0 0x01 SET_GPIO_MASK 0x0
sudo /usr/bin/hda-verb /dev/snd/hwC0D0 0x01 SET_GPIO_DIRECTION 0x0
sudo /usr/bin/hda-verb /dev/snd/hwC0D0 0x01 SET_GPIO_DATA 0x0
sleep 1
sudo /usr/bin/hda-verb /dev/snd/hwC0D0 0x01 SET_GPIO_MASK 0x04
sudo /usr/bin/hda-verb /dev/snd/hwC0D0 0x01 SET_GPIO_DIRECTION 0x04
sudo /usr/bin/hda-verb /dev/snd/hwC0D0 0x01 SET_GPIO_DATA 0x04
ffplay -nodisp -autoexit /opt/silence_86400.mp3"
sudo chmod +x "/home/slyfox/Bureau/Audio_HD"
Pour activer l'audio, clic droit sur le fichier “Audio_HD” et choisir “Excuter en tant que programme”.
dmesg | grep firmware
https://debian-facile.org/doc:materiel:wifi:detecter#etape-4activer-l-interface-reseau
gedit /etc/bash.bashrc
Rechercher la ligne # enable bash completion in interactive shell et supprimer les dièses (#) sur la portion de code après cette ligne jusqu'au dernier fi.
ce qui doit donné au final :
# enable bash completion in interactive shells
if ! shopt -oq posix; then
  if [ -f /usr/share/bash-completion/bash_completion ]; then
    . /usr/share/bash-completion/bash_completion
  elif [ -f /etc/bash_completion ]; then
    . /etc/bash_completion
  fi
fi
Identifier numéro UUID
lsblk --fs
gedit /etc/fstab
# Disque externe HDD_STOCKAGE
UUID=94f63283-8e6d-49dc-99db-8d0385d1d797 /media/slyfox/HDD_STOCKAGE          ext4    defaults           0       2
mount --all
Donner les droits utilsateur.
chown -R slyfox:slyfox /media/slyfox/HDD_STOCKAGE/
ln -s [fichier cible] [Nom de fichier symbolique]
sudo apt install -y cmake curl freeglut3-dev git libgcrypt20-dev libgtk-3-dev libpulse-dev libsecret-1-dev libsystemd-dev nasm ninja-build clang-12 g++
cd
git clone --recursive https://github.com/cemu-project/Cemu
cd Cemu
cmake -S . -B build -DCMAKE_BUILD_TYPE=release -DCMAKE_C_COMPILER=/usr/bin/clang-12 -DCMAKE_CXX_COMPILER=/usr/bin/clang++-12 -G Ninja -DCMAKE_MAKE_PROGRAM=/usr/bin/ninja
OU
cmake -S . -B build -DCMAKE_BUILD_TYPE=release -DCMAKE_C_COMPILER=/usr/bin/gcc -DCMAKE_CXX_COMPILER=/usr/bin/g++ -G Ninja
Si tout est OK…
cmake --build build
Donner le droit de lancer Cemu
chmod +x /home/$USER/Cemu/bin/Cemu_relwithdebinfo
Pour lancer Cemu ce mettre dans le dossier “Cemu”
home/$USER/Cemu/bin/Cemu_relwithdebinfo
WiiUDownloader-Linux-x86_64 permet de trouver les roms.
Lien: https://testing.agilly1989.xyz/#/WiiU/Tools/Nusdownloaders/WiiUDownloader
Lien (prendre AppImage): https://github.com/Xpl0itU/WiiUDownloader/releases
cd
wget https://github.com/Xpl0itU/WiiUDownloader/releases/download/v1.32/WiiUDownloader-Linux-x86_64.AppImage
chmod +x /home/$USER/WiiUDownloader-Linux-x86_64.AppImage
Pour lancer WiiUDownloader-Linux-x86_64
/home/$USER/WiiUDownloader-Linux-x86_64.AppImage
Cocher “Decrypt contents” et “Delete encrypted contents after decrytion”
Sélectionner la rom –> “Add to queue” –> “Download queue”
Lien: https://github.com/NiceneNerd/BCML
Lien: https://pypi.org/project/bcml/2.0/
Lien: https://gamebanana.com/mods/168235
Lien: https://gamebanana.com/mods/406768
cd
git clone --recursive https://github.com/NiceneNerd/BCML.git
cd ./BCML
python3 setup.py install --user
mkdir "/home/$USER/Mod ZBOW"
Pour lancer BCML
bcml
Exemple de configuration (cliquer sur l'image pour zommer)
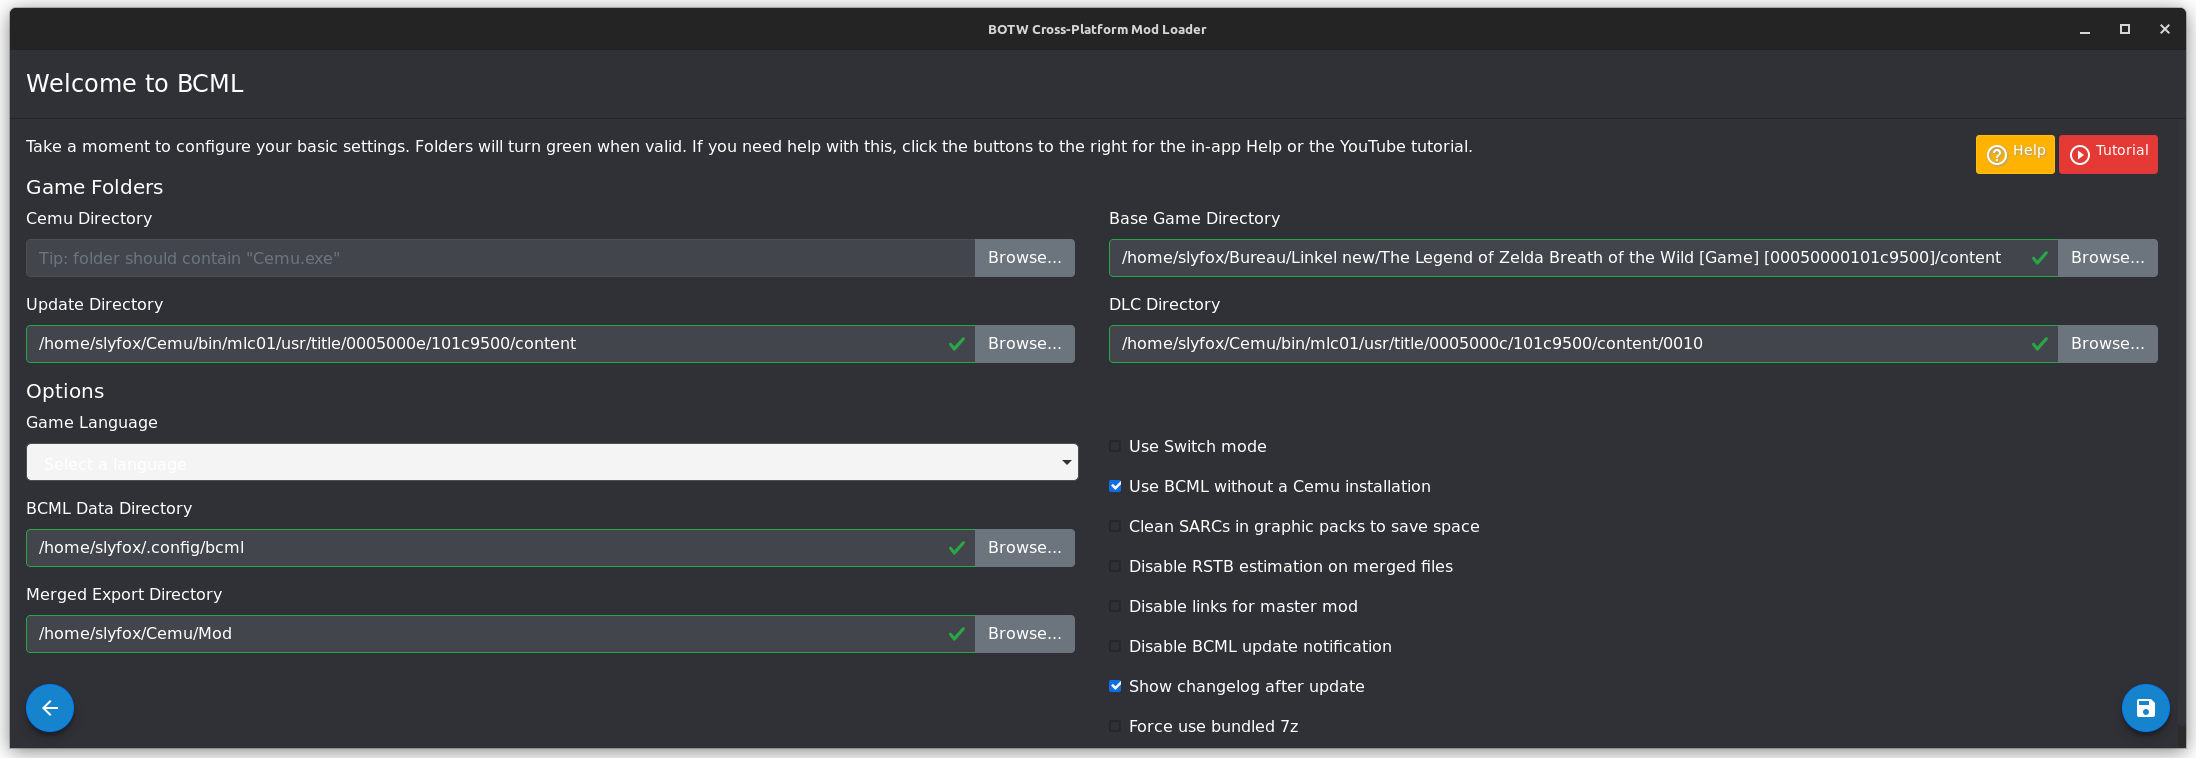
Si tout est OK une nouvelle fenêrtre s'ouvre, cocher la case dans le rectangle vert d'information.
Ciquer sur “+” (en bas à droite) pour ajouter le paquet mod (bnp, zip…) en ciquant sur “Browse”, cliquer sur “Install”